Creating a new invoice on an easy invoice WordPress plugin is quite easy task. You have to navigate into the Invoices menu and click on add new invoice and you will see a form just like below.
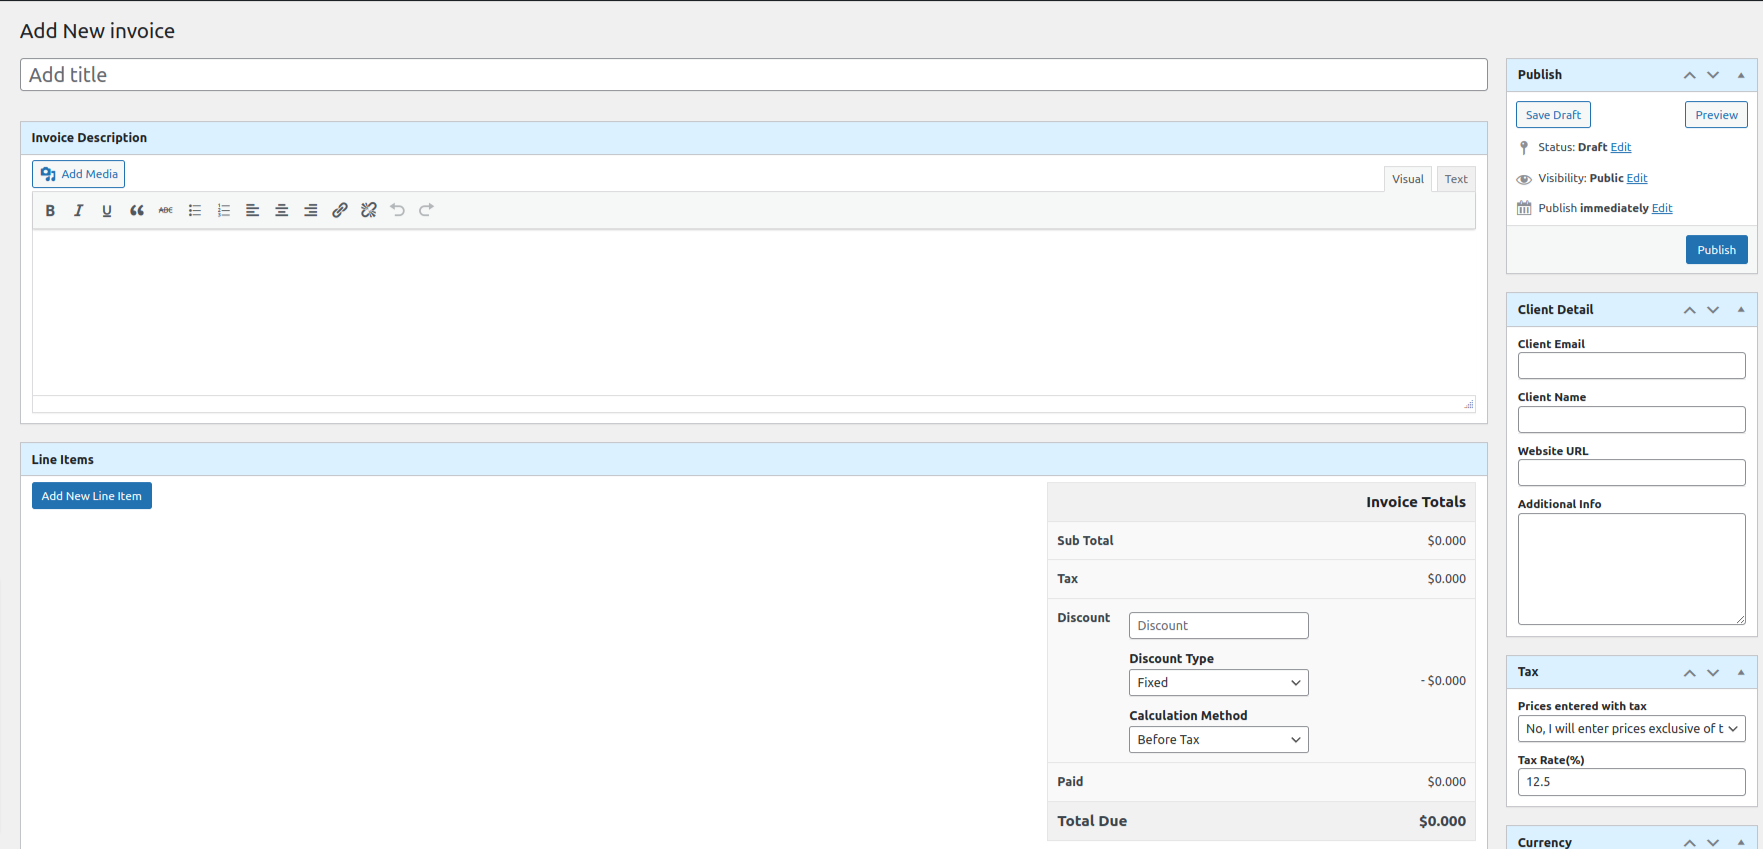
Do not worry we will explain all fields one by one below.
Invoice Title: You have to provide your invoice title here. For example Invoice for Web Design Task
Invoice Description: You can provide an invoice description here, which your client will see on the invoice.
Line Items:
You can add unlimited line items for the invoice. Line items are individual invoice pricing items where you can put the price and tax options. You have to add custom line items for now. You will get the following option on line items. By clicking on add new line items button you will see the new item fields.
Quantity: Quantity for the line item. For example Web Design Service, you can put 1 or 2 as per your needs. Or any number you can enter here.
Item Title: You can type here item titles like Web design service, Software service, or any item title text.
Adjust(%): If you enable adjust from the settings, you will see this field here. You can add any number here. This value will increase the percentage amount on the pricing.
Rate: Rate for the individual line items.
Amount: The amount will be auto-calculated. Calculation formula for amount: (rate x quantity +( (rate x quantity) x adjust percentage /100))
Description: You can add any description for the individual line item.
Taxable: Whether this line item is taxable or not. If you check this option, this line item amount will be added to the total taxable amount and that amount will be responsible for tax calculation.
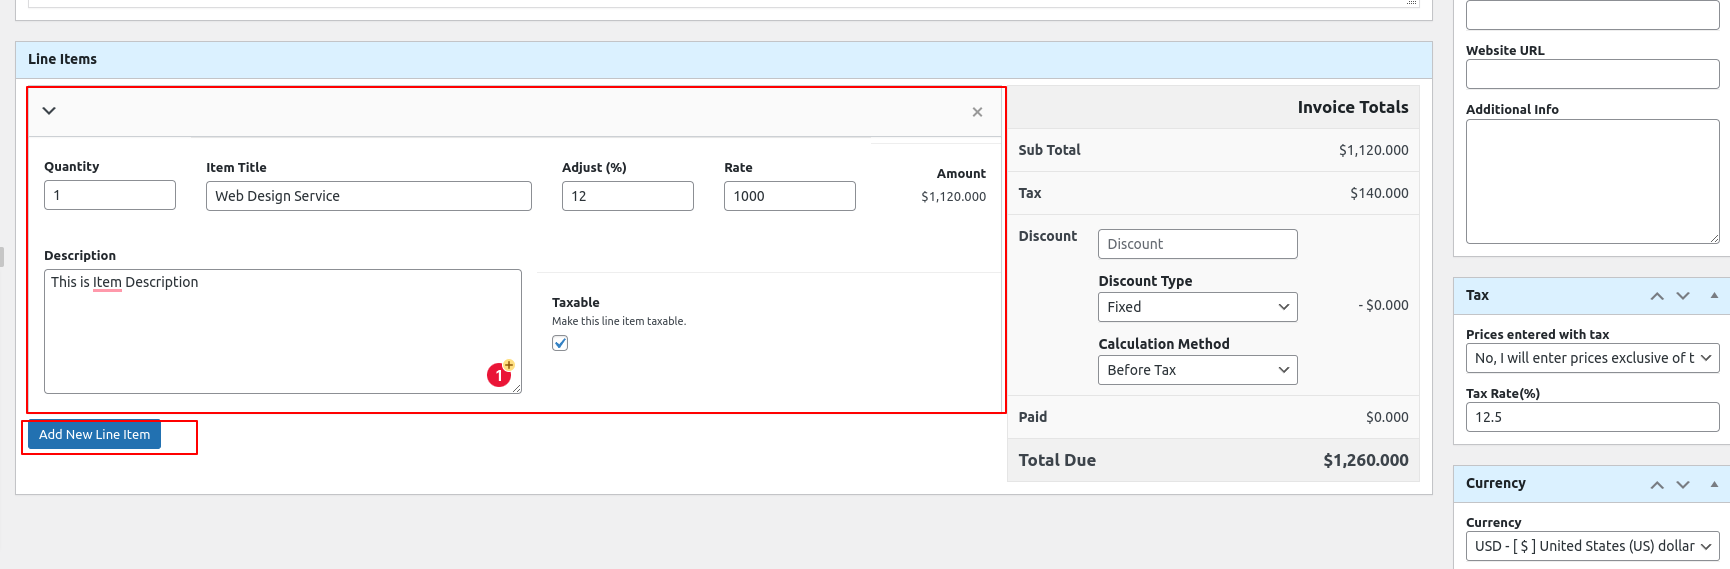
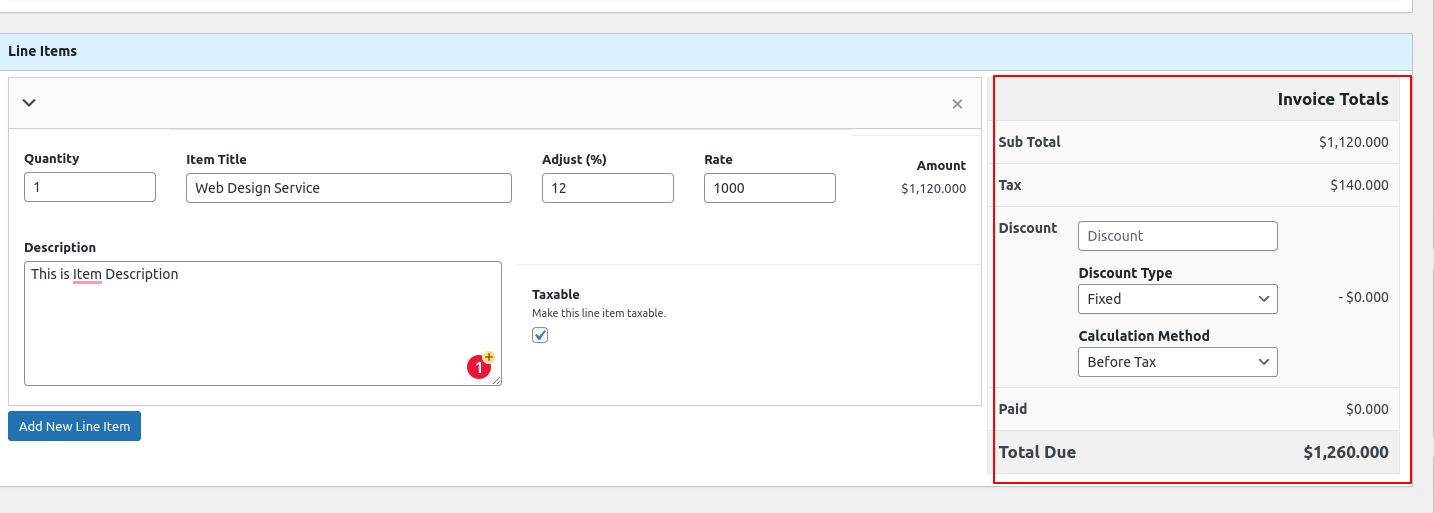
Invoice Totals
You will see the invoice total in this section.
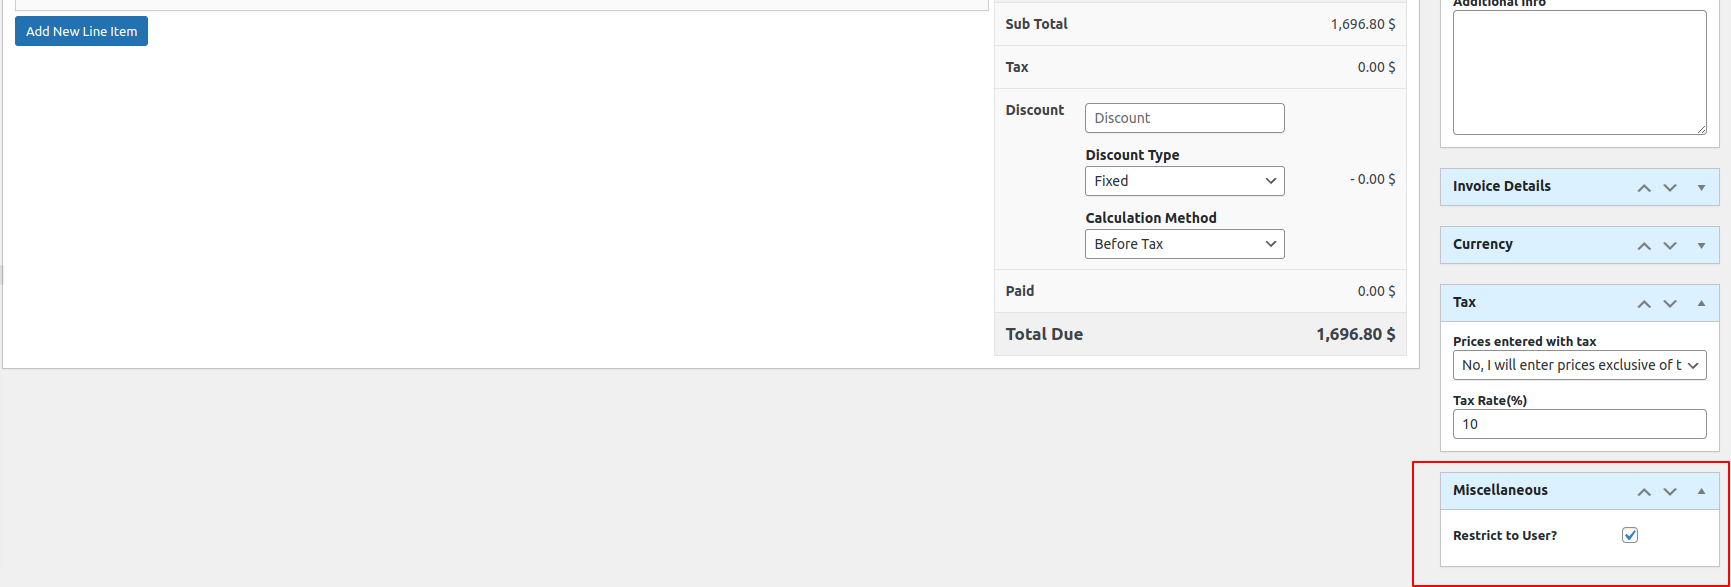
Sub Total: The subtotal of the invoice item goes here. This amount will be auto-calculated by the algorithm.
Tax: This field ( tax amount ) is also auto-calculated by an algorithm based on your input.
Discount: If you want to provide a discount then you can put the discount value in this field. Discounts might be fixed or in percentages.
Discount Type: You can choose the discount type from here like Fixed or in percentage. Fixed means fixed amount and percentage means the percentage of sub-total.
Calculation Method: This is a discount calculation method. There are two options for discount calculation methods. 1 is Before tax, which means the discount will be calculated before tax calculation and another is after tax, which means the discount will be calculated after tax calculation.
Paid: You will see the paid amount in this field. If you do not have any payment made for the invoice then this field will be zero.
Total Due: In this field, everything will be calculated and get the total net due for the particular invoice.
Now, let’s jump into the sidebar fields for the invoice.
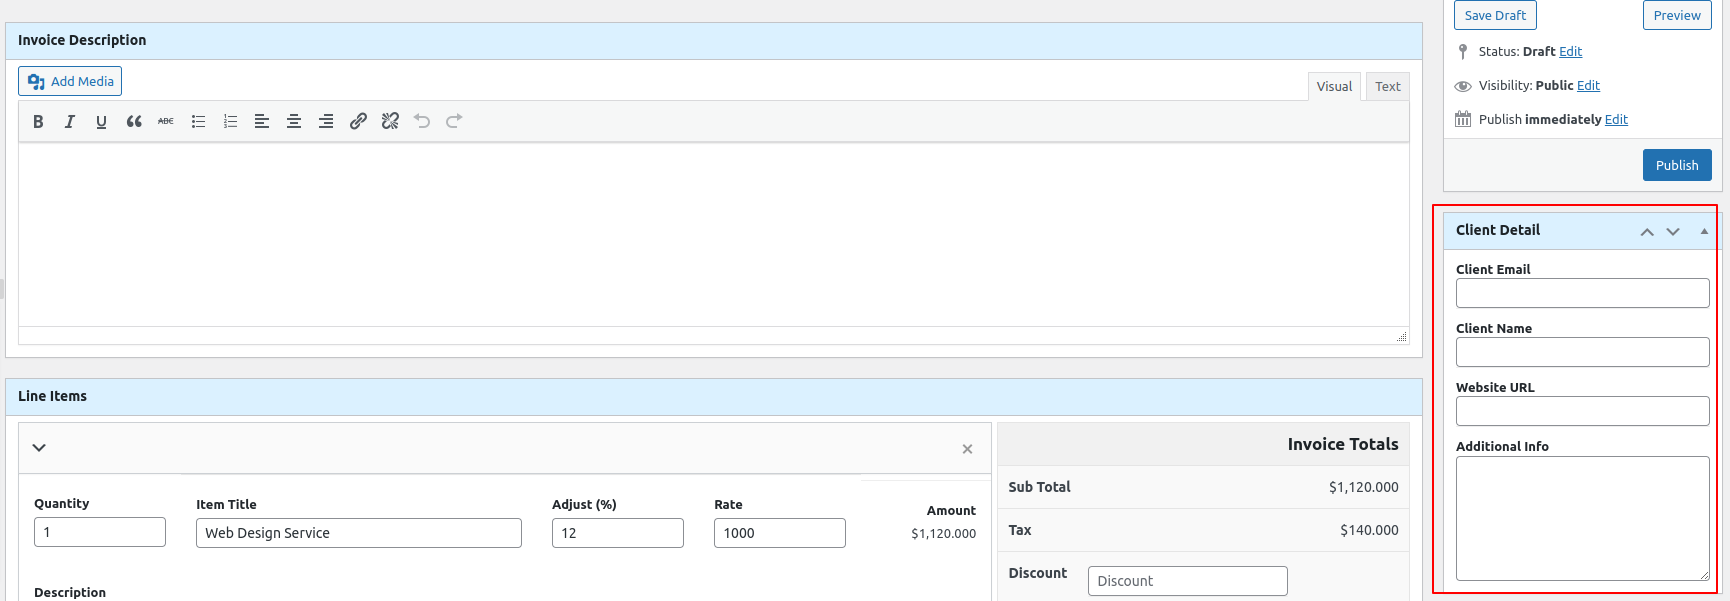
Client Details:
Client Email: You have to put the client email to generate an invoice. You can leave it empty but the email-related and payment-related features will not work without client email. You
Client Name: Your client name for this invoice, you have to type the client name here.
Website URL: If your client has any website or URL you can update it in this field.
Additional Info: You can write any other additional information about that particular client. For example additional email, address, or any other information.
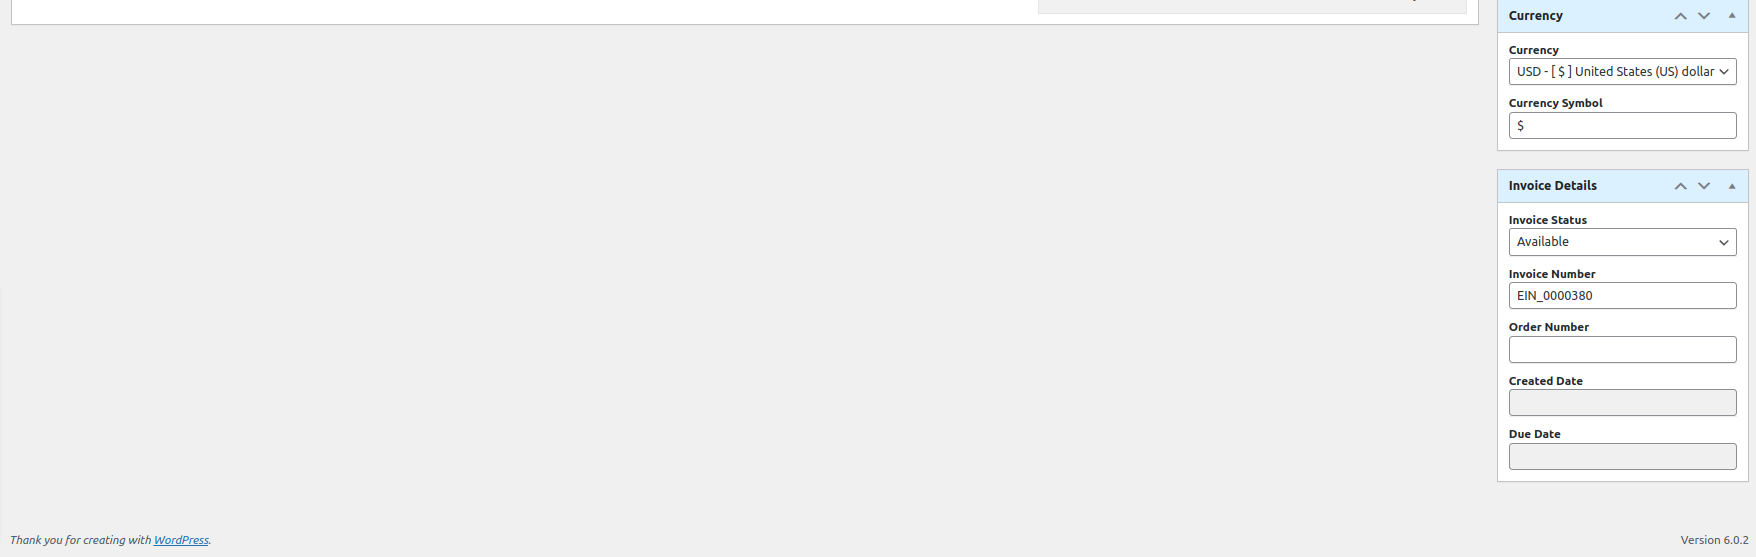
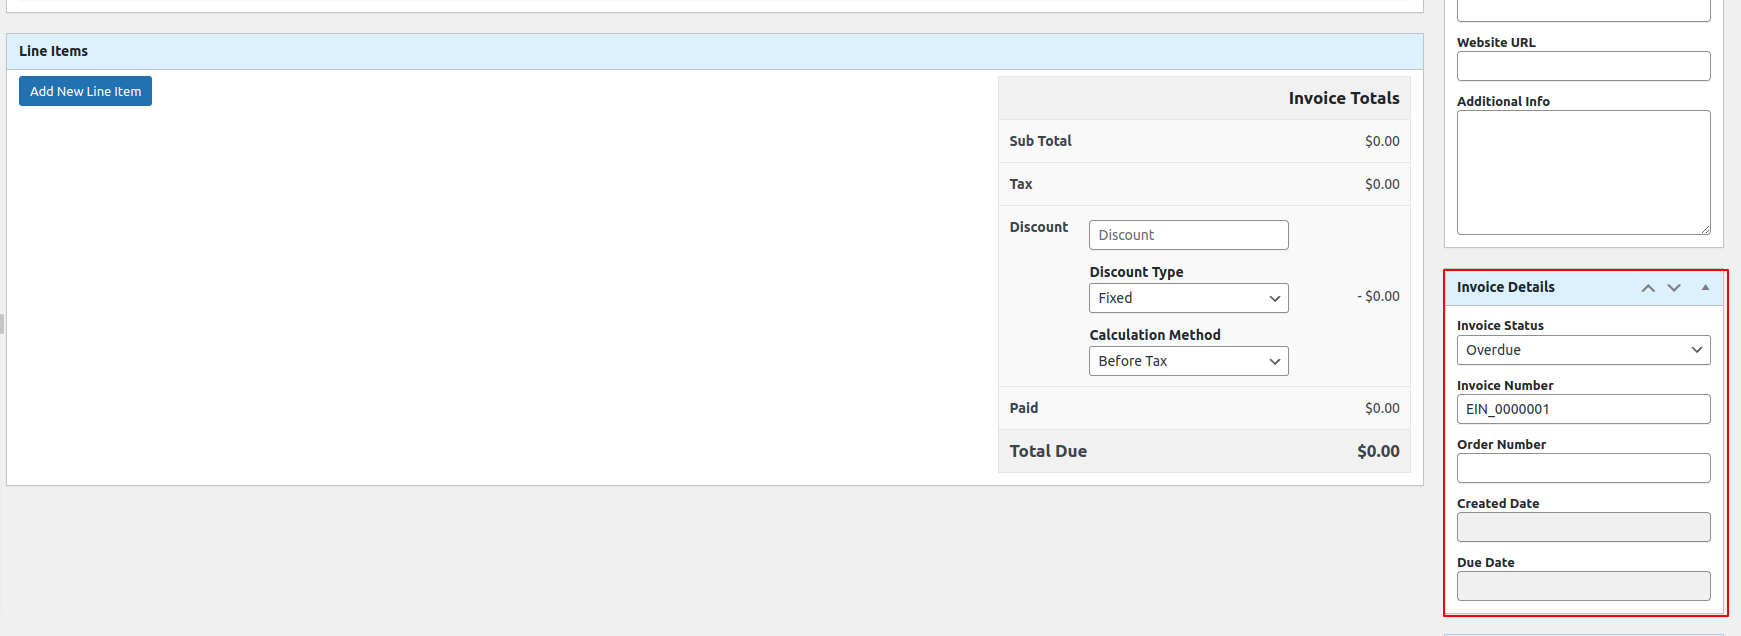
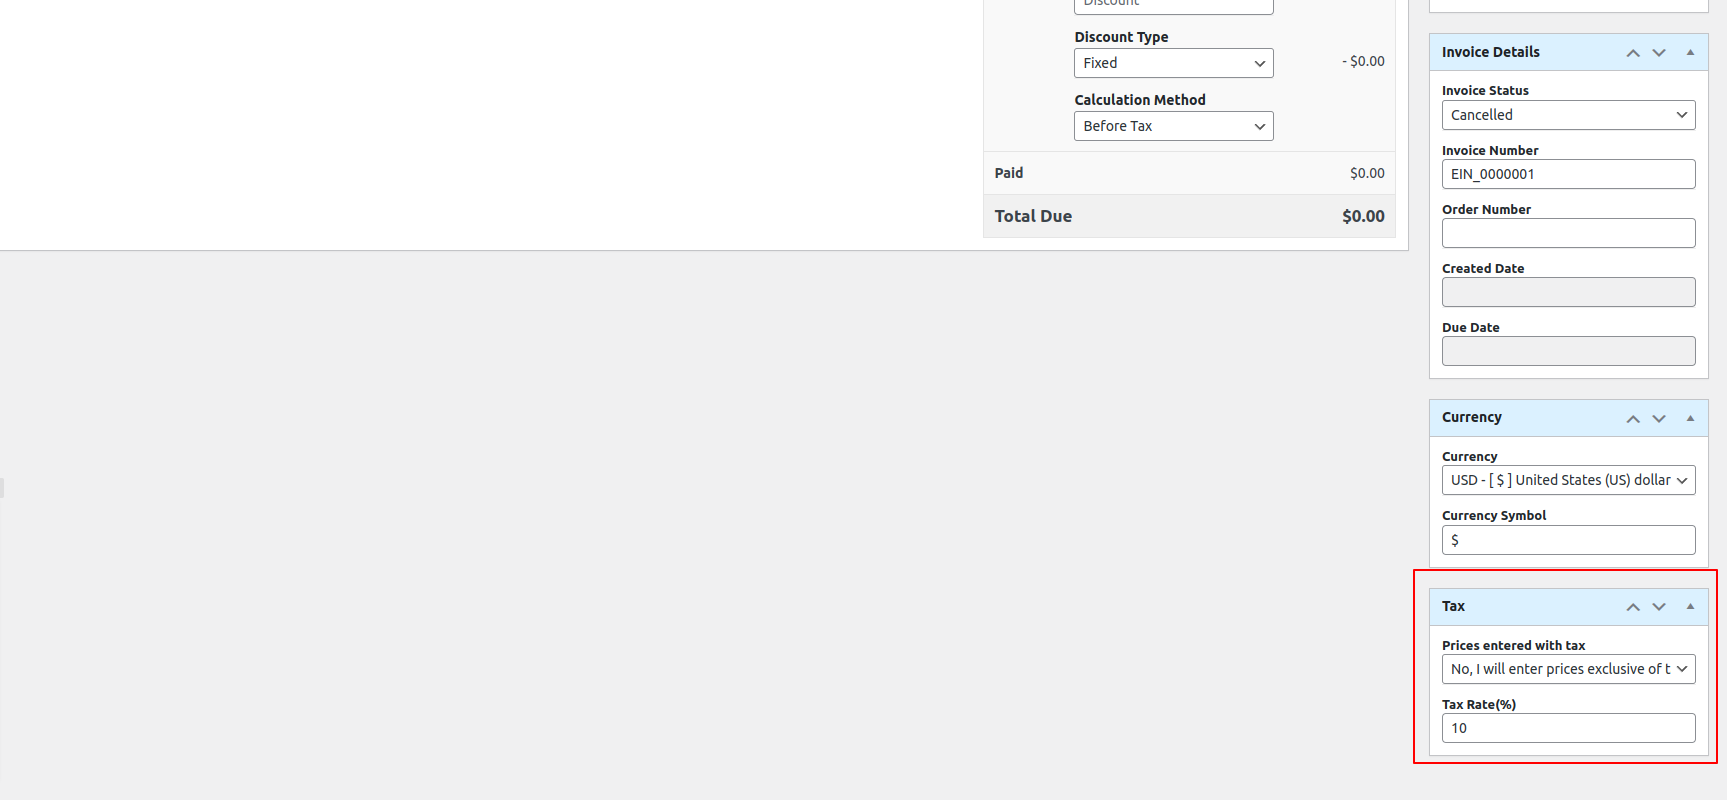
Invoice Details:
Invoice Status: This is the status of the invoice, by default this is Available and when your client paid it becomes Paid we have other different types of statuses too.
- Available: This is the default status of the invoice.
- Draft: The draft is only for drafting the invoice.
- Overdue: When the due date is exceeded.
- Paid: When the client paid the invoice.
- Unpaid: When a client is unable to pay or is denied the payment.
- Cancelled: When Invoice is created but not used
Invoice Number: This is an auto-generated number with a prefix ( which was set from the invoice settings page). Normally by default it’s not necessary to change the invoice number. But in case you want to modify you can edit this field.
Order Number: This is the order number of the invoice, you can add manually update the order number for the invoice.
Created Date: Invoice created date
Due Date: Due date for the invoice
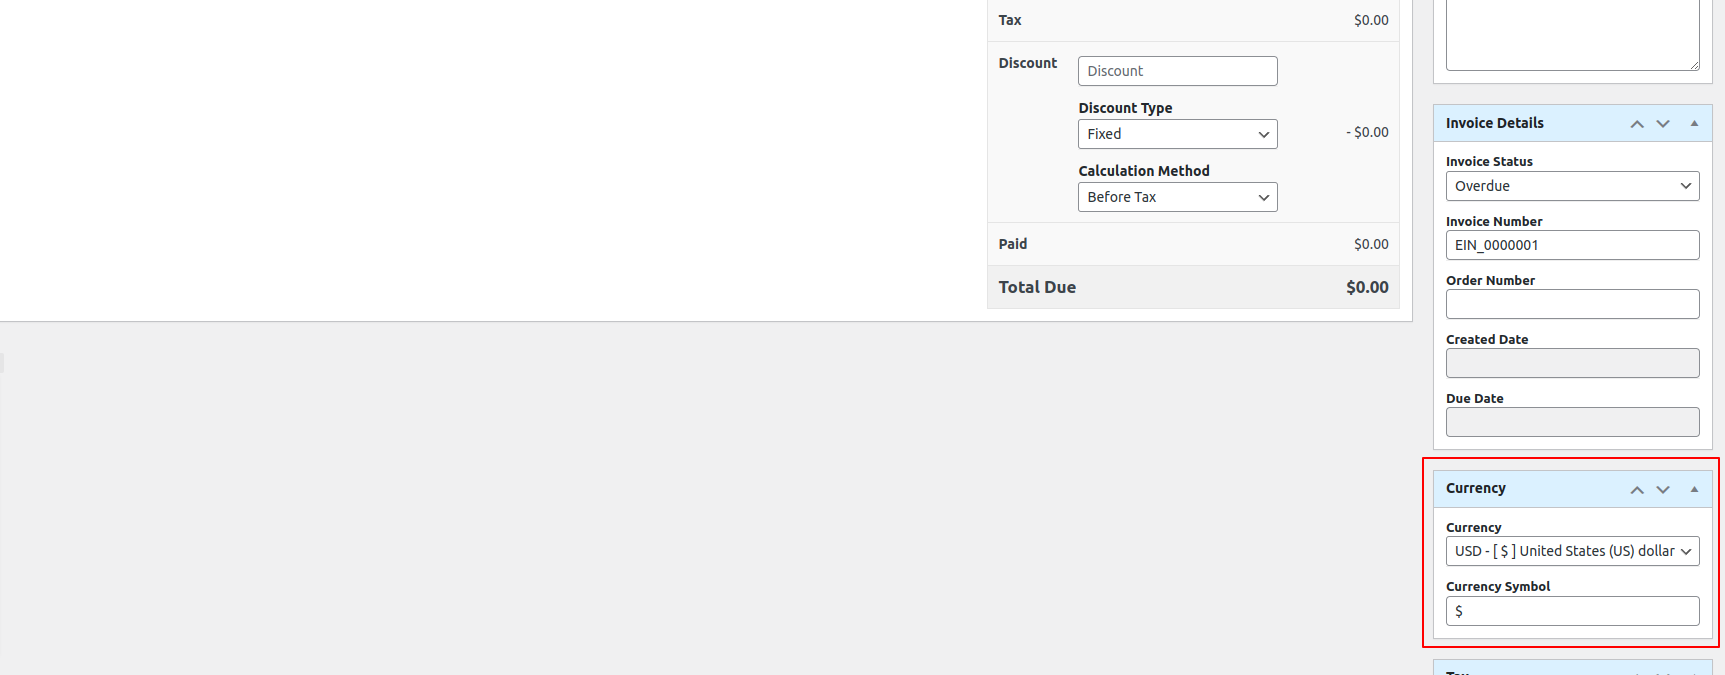
Currency:
Currency: Invoice currency. By default no need to modify because this currency auto-set from the global currency of the invoice ( you will find the setting on the main setting page of the invoice ). If you want to modify the particular invoice, you can update this field.
Currency Symbol: This is also auto set field from the global setting of the invoice, If you need to modify it for the special or some invoice you can modify it as per your need. But for normal usage no need to modify this field too.
Tax:
Prices entered with tax: This field is also auto-set value from global tax settings. If you want to modify it for the specific invoice you can change this field value. You can find exclusive and inclusive options here.
Tax Rate(%): This is also auto set value from global tax rate settings. If you want to modify it for a specific invoice then you can update the tax rate from here. For global invoice usage no need to modify. If in some cases your tax % is different than the global tax setup then you can update as per your needs here.
Miscellaneous:
This Miscellaneous Options feature is only available in the Easy Invoice Pro premium addon
Restrict to User?: If you enable this option, your client has to log in with the email associated with this invoice. Else they can’t see and pay the invoice.
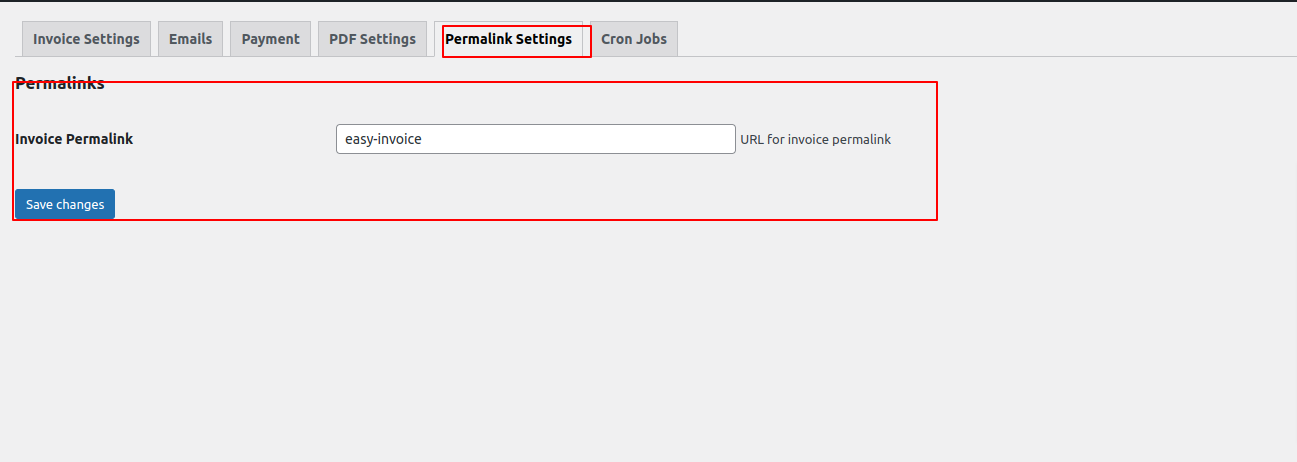
Invoice Premalink
This Permalink Settings feature is only available in the Easy Invoice Pro premium addon
You can modify the invoice permalink from here. By default easy invoice permalink is easy-invoice but you can modify this as per your needs.
Invoice Preview
You can see the list of invoices from the admin’s area Invoices menu
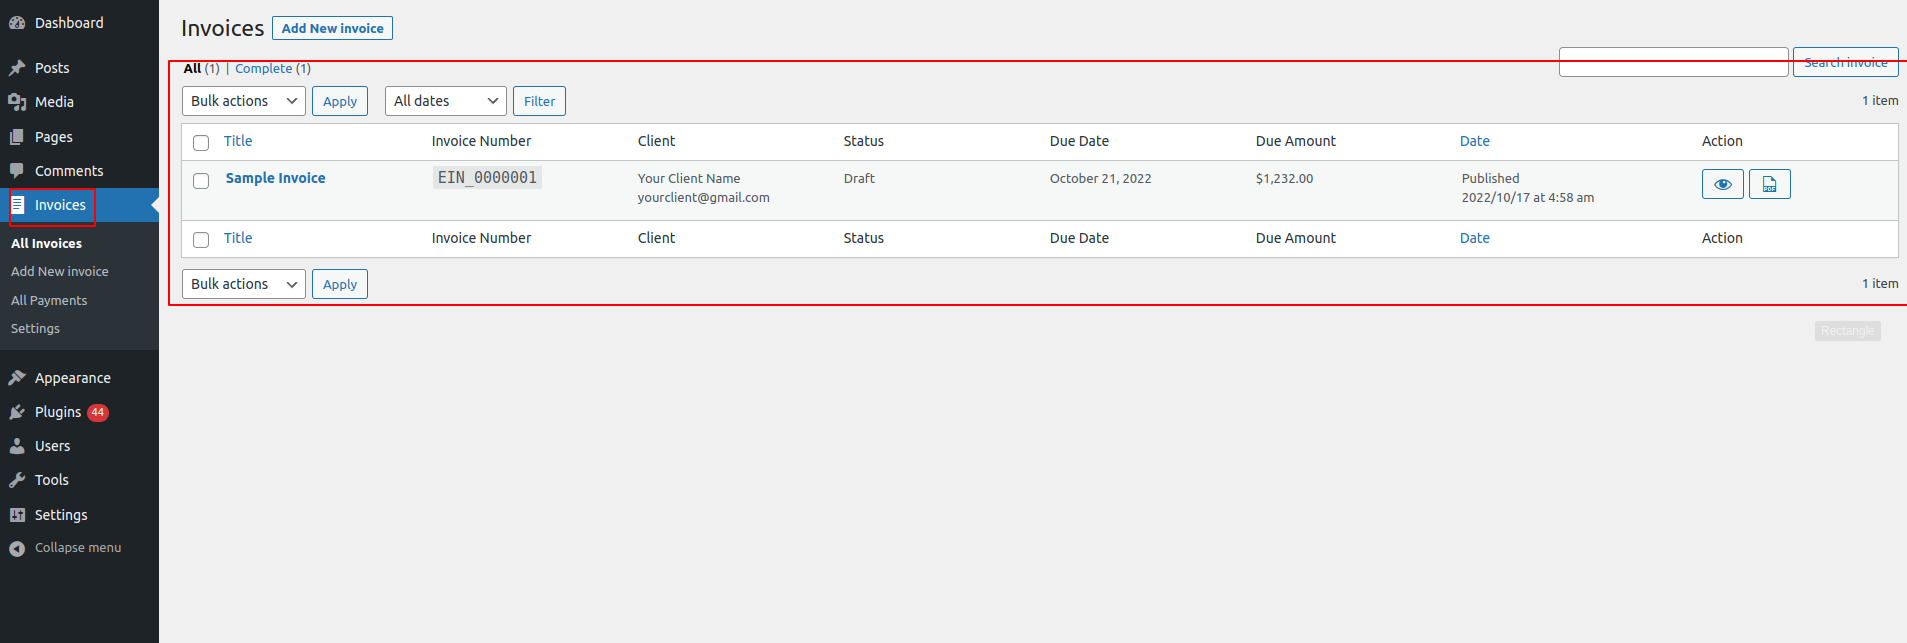
Just click on the eye icon of the Action column from the table row list.
You or your client will see the invoice something like this
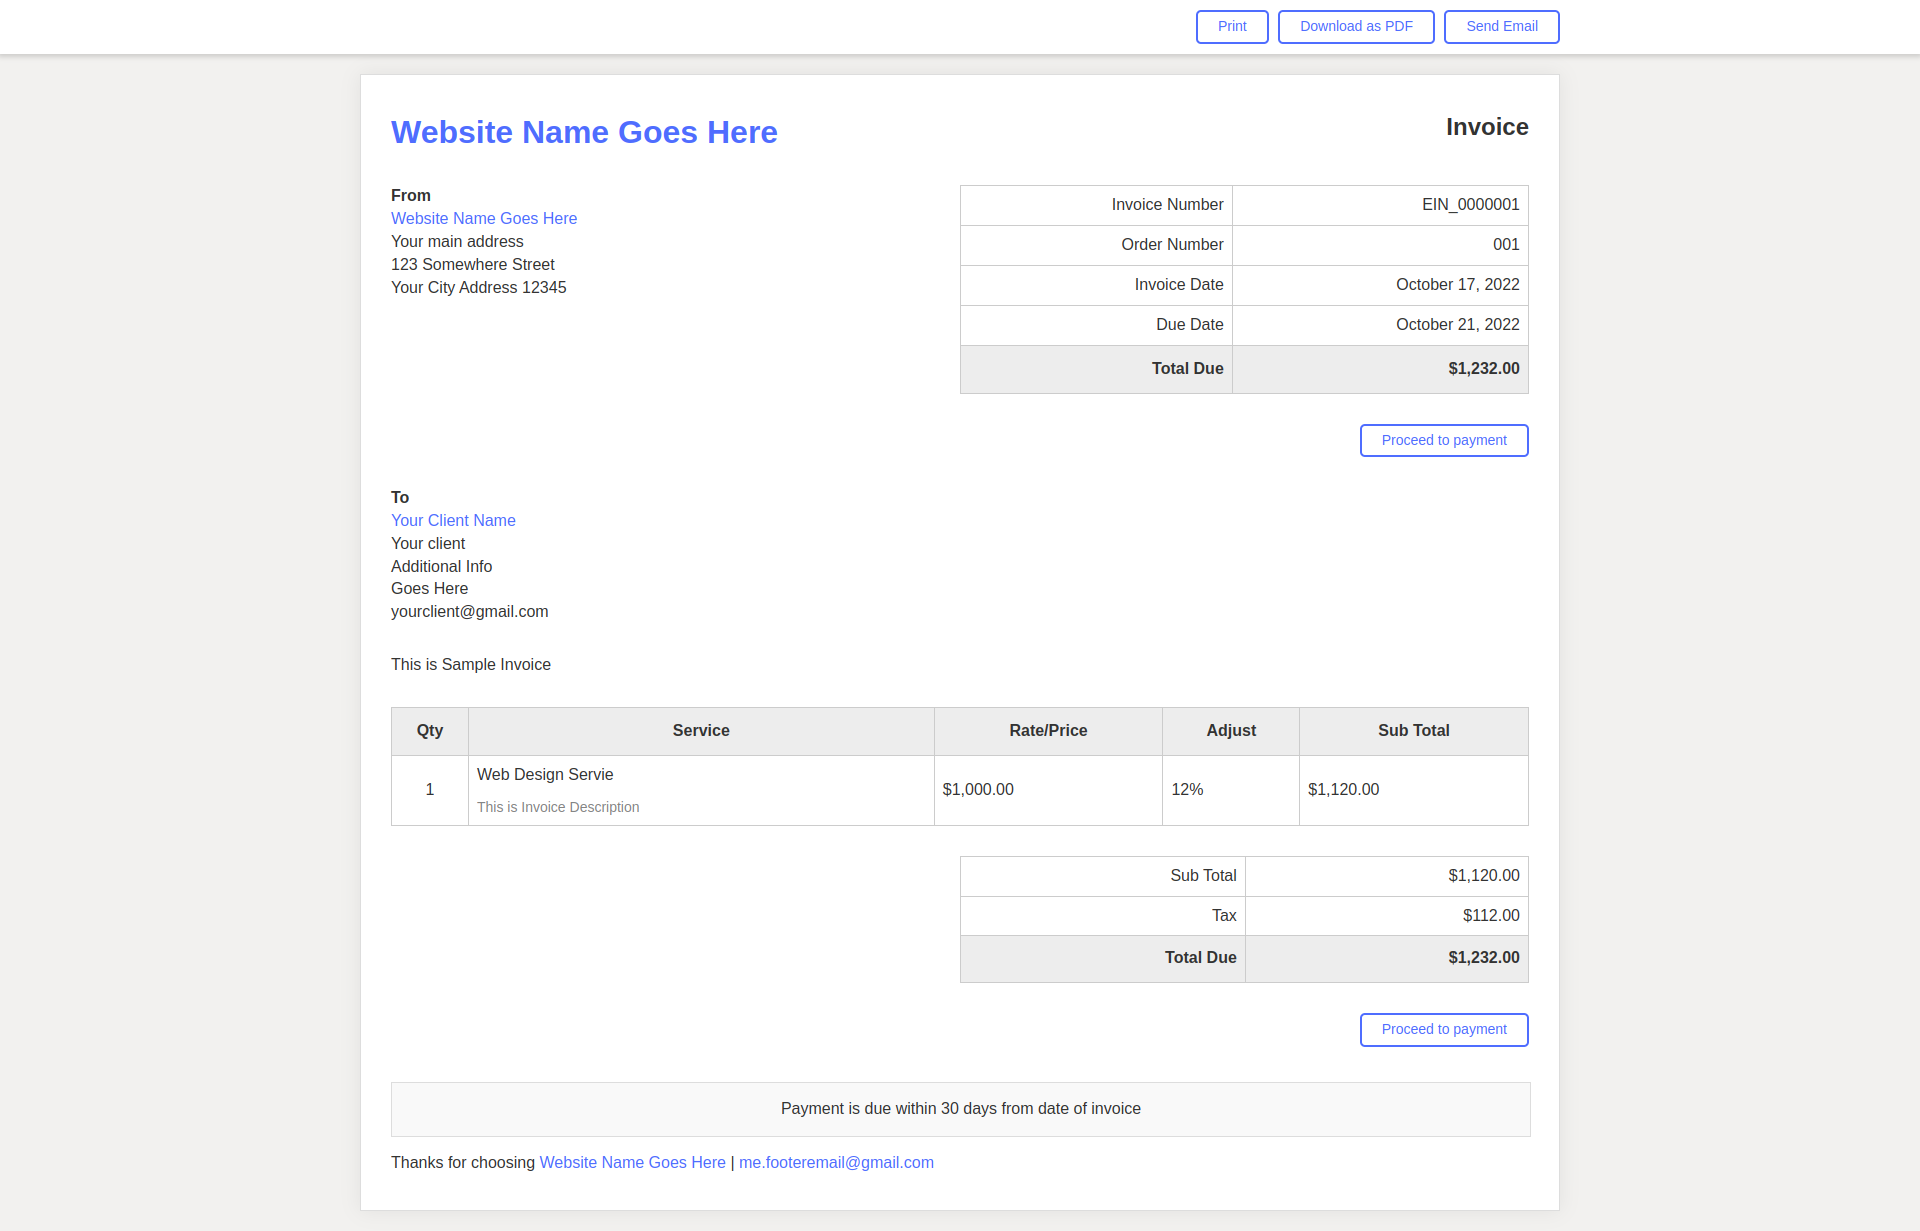
You can Print, Download as PDF or Send an email this invoice to the client from the top bar of this invoice.
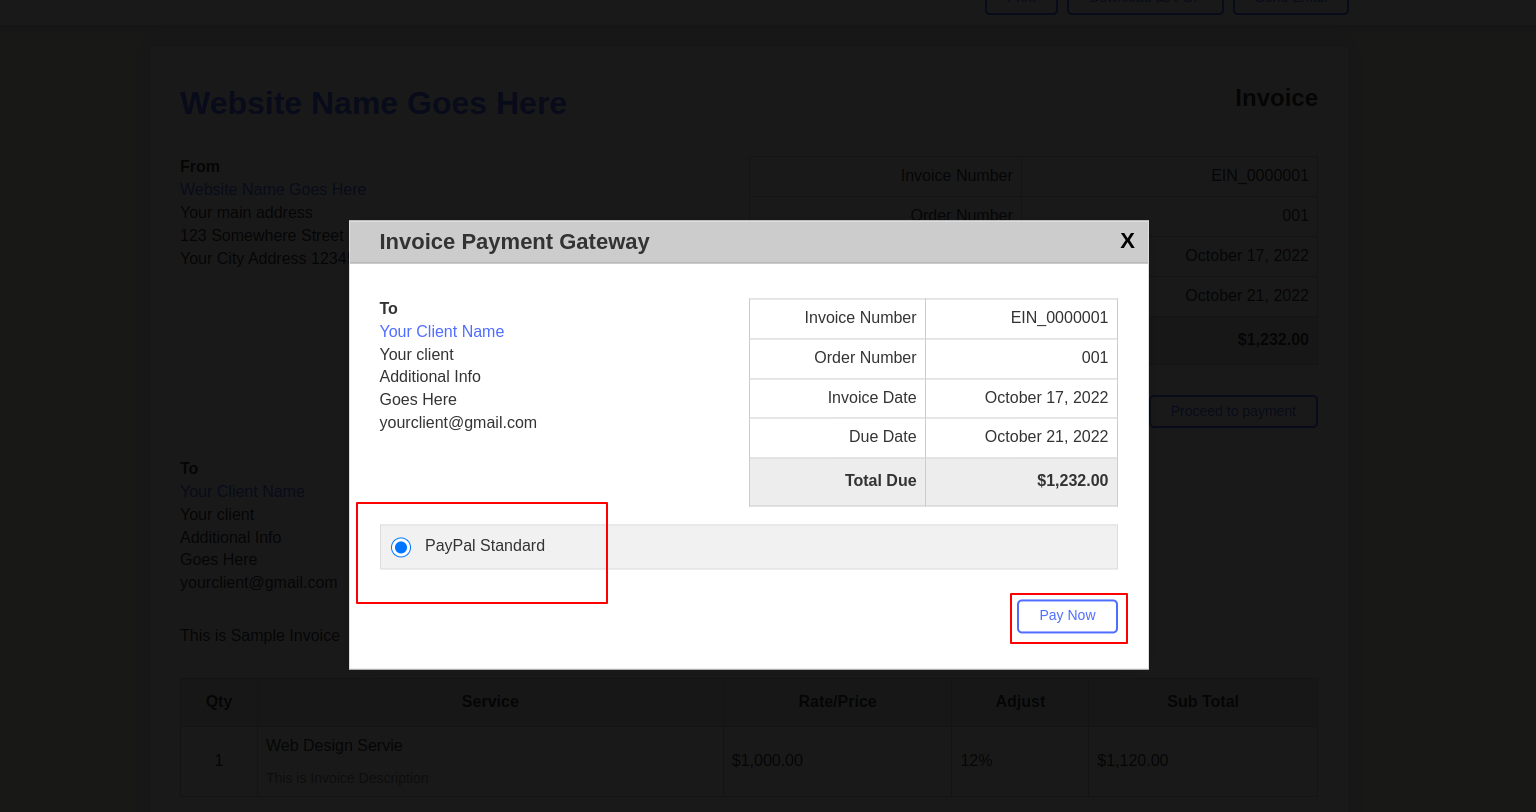
If you set up the payment gateway properly then you will see Proceed to payment button on the invoice page. When you click here, you will see a popup with the invoice total and available payment gateways, so that you can select one of the gateways and proceed with the payment.
You will see the popup like this: